
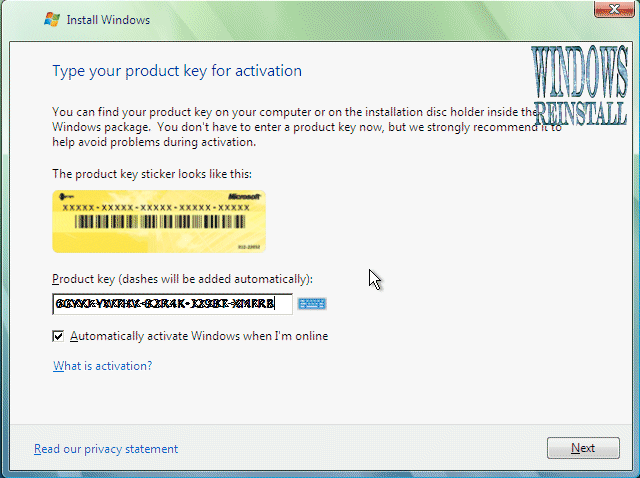
This section is the collecting information part. First you
will need your Windows "Product Key". This will be on the disk
packaging provided with your CD's/DVD's. The product key will be 25 digits
long and will contain letters and numbers.
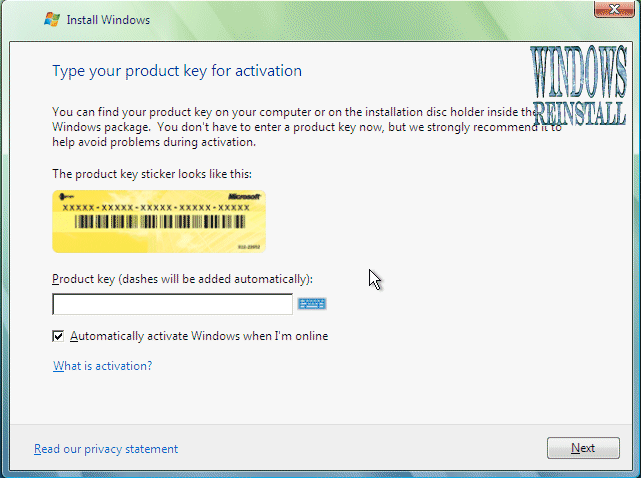
Input key (Dashes will be added automatically), and
click next when completed.
Now the License terms: Read and confirm that you accept the
License by selecting the box on the bottom left of the screen.
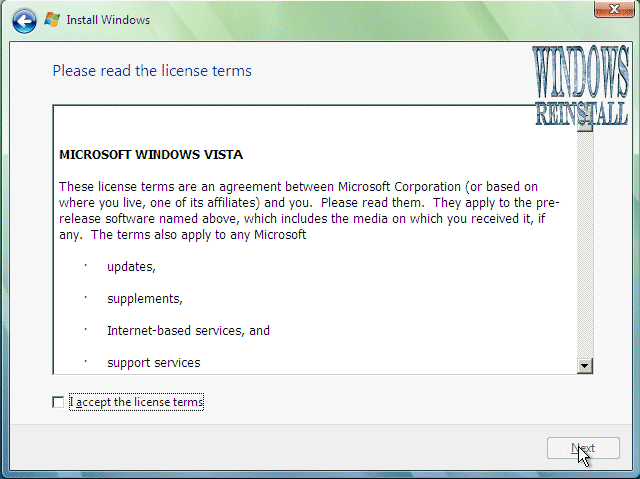
Once done click next to continue.

Now you will asked the type of installation you wish to do.
Click on "Custom" to continue.

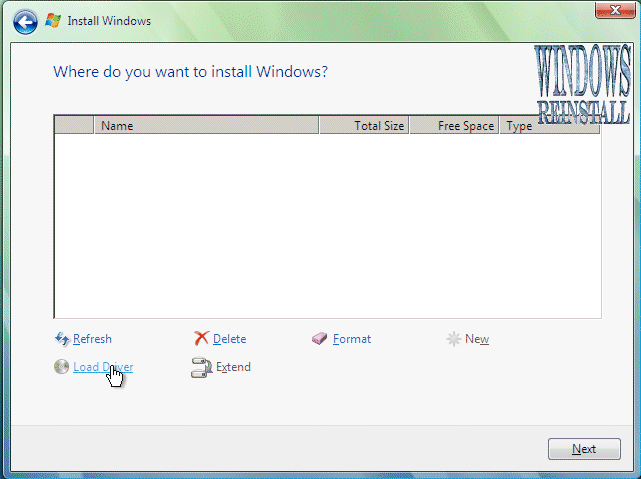
Next you will select the location of the install. The
hard drive is not seen due to Windows Vista not having the driver. This
driver should be supplied with your motherboard, if not it will be available
for download from the motherboards manufacturer. This file will then needed
extracted and copied a Floppy, CD or USB storage device.
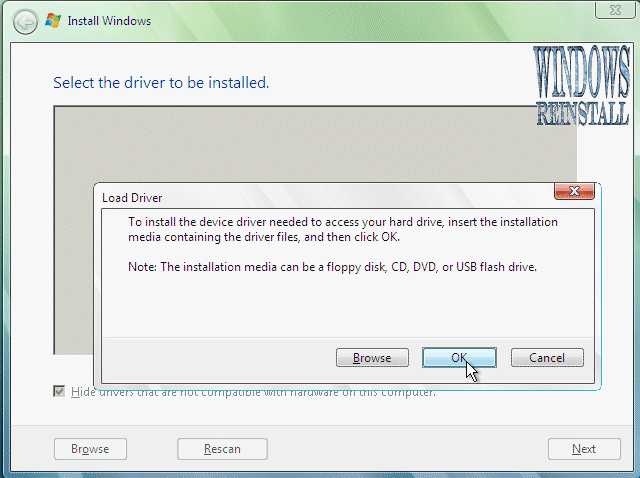
To continue click on "Load Driver"
Now insert the media that stores the drivers for the device
and click OK
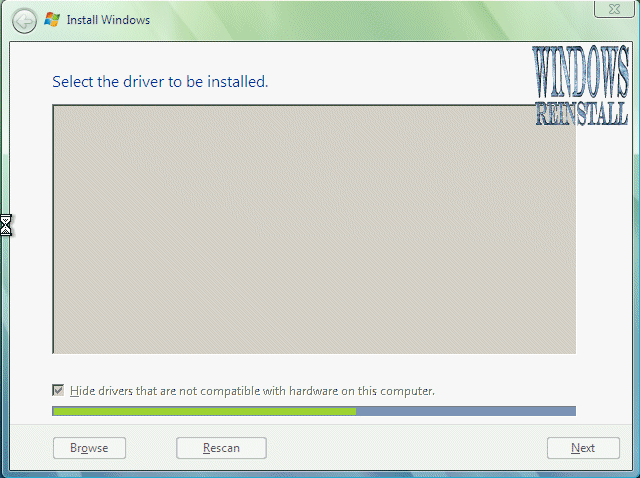
Windows will search for it on all available devices.
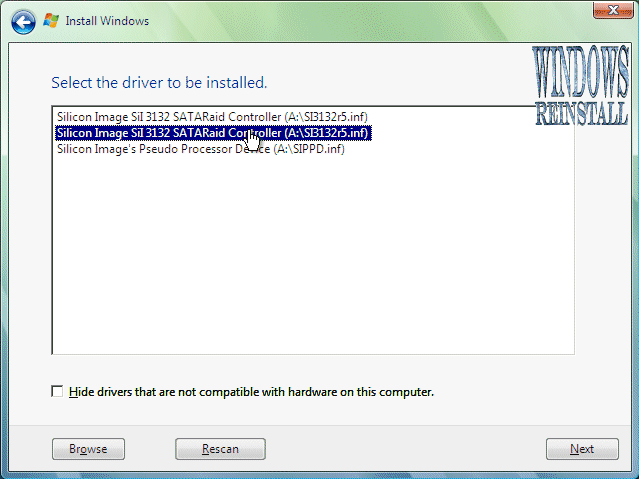
A list of available drivers will appear, select the one that
matches your motherboard or hard drive. Click "NEXT" to continue.
The Hard Drive should now be seen, if not click "Load
Driver" and try a different one, or you may need to download another
driver from the manufacturers website.
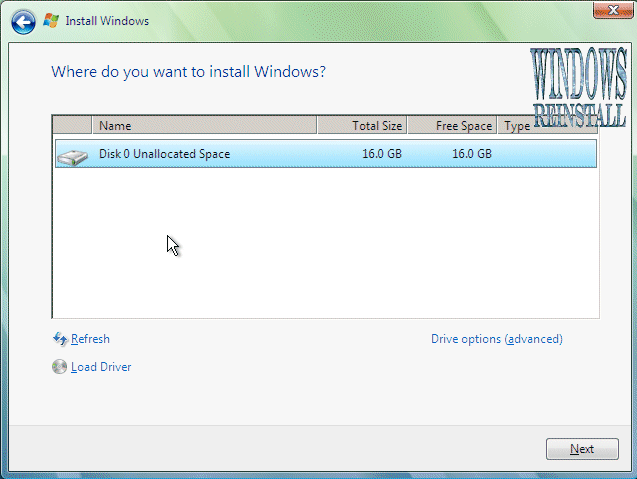
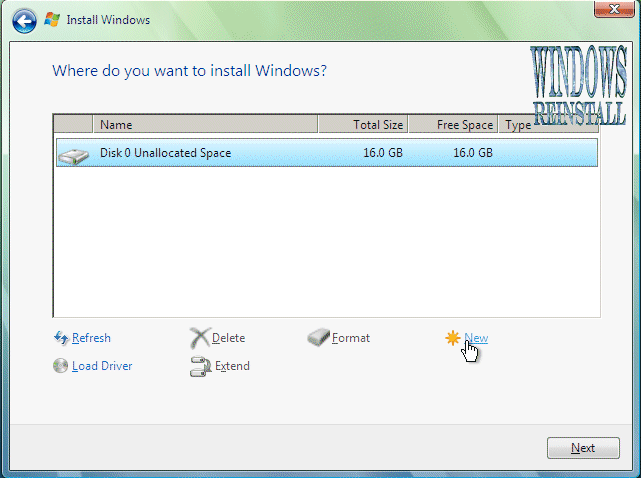
Next you will select the location of the install.
Select the drive, and then click on "Drive Options" to setup and
Format the drive. Alternatively you can just click "Next and windows
will use max space available." If you use the later the go straight to
"Part 3" of this guide.
To setup the harddrive, click on "NEW"
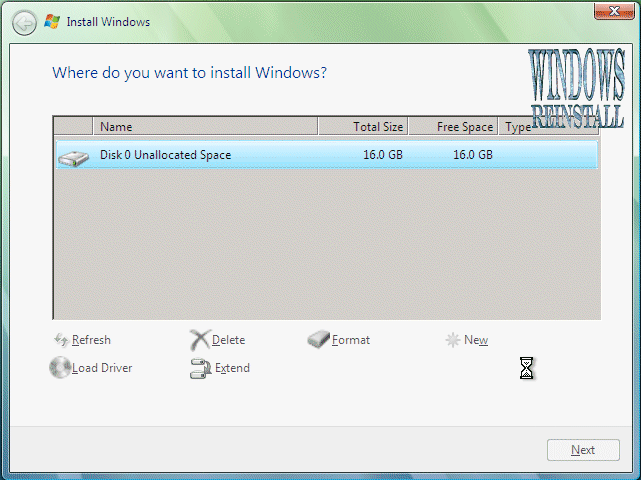
Select the amount of size you wish to use and click on
"APPLY".

It will take a few moments to apply the settings.
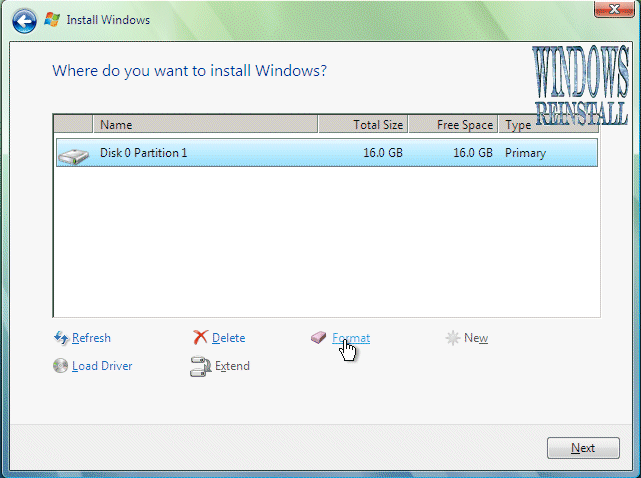
Once done, click on "FORMAT" to format the drive.
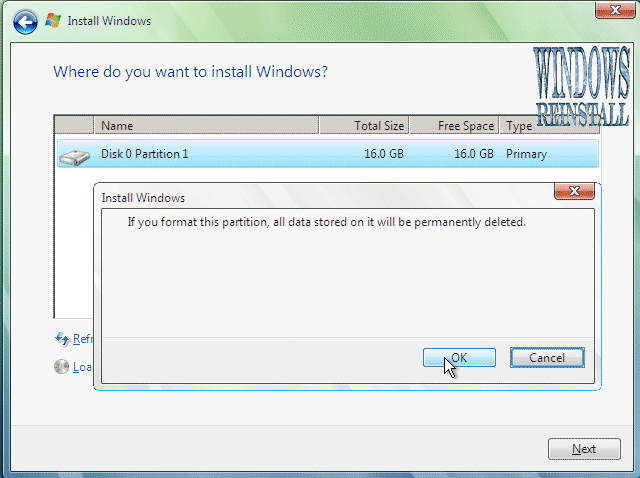
You will receive a warning, click "OK" to
continue, as all info will be permanently deleted.
Windows is now formating the drive, this may take a few
moments so be patient.

Once done click on "NEXT" to continue.

Click here for Part 3